
Creating Your First Online Course Product
Introduction
The Product serves as the foundational container for your course content. Setting up this structure with clarity is the essential first step in delivering premium education to your clients, establishing the fundamental learning flow.
I. Setting Up the Product Shell
The Product refers to the specific item—your course, membership area, or training—that clients purchase access to via an Offer.
Steps:
Navigate to Memberships:
Go to Sites → Memberships → Products.

Create Product:
Click + Create Product.

Choose a Template:
Select a template that aligns with your educational style. The Momentum or Legacy themes are recommended for a clean, minimalist approach.
Name the Course:
Assign a clear, descriptive internal name to your product .
Edit Product:
Click on the newly created product to enter the course builder.
II. Building the Content Structure
Your course content is organised into three tiers: Categories, Modules, and Lessons. This hierarchy provides a logical rhythm for the learner.
1. Categories (The Course Pillars)
Categories are the largest sections, often representing major themes, weeks, or phases of your training.
Action:
Click + Add Category.
Create your major training divisions (e.g., "Pillar 1: Data Foundations" or "Week 3: Email Nurture Strategy").
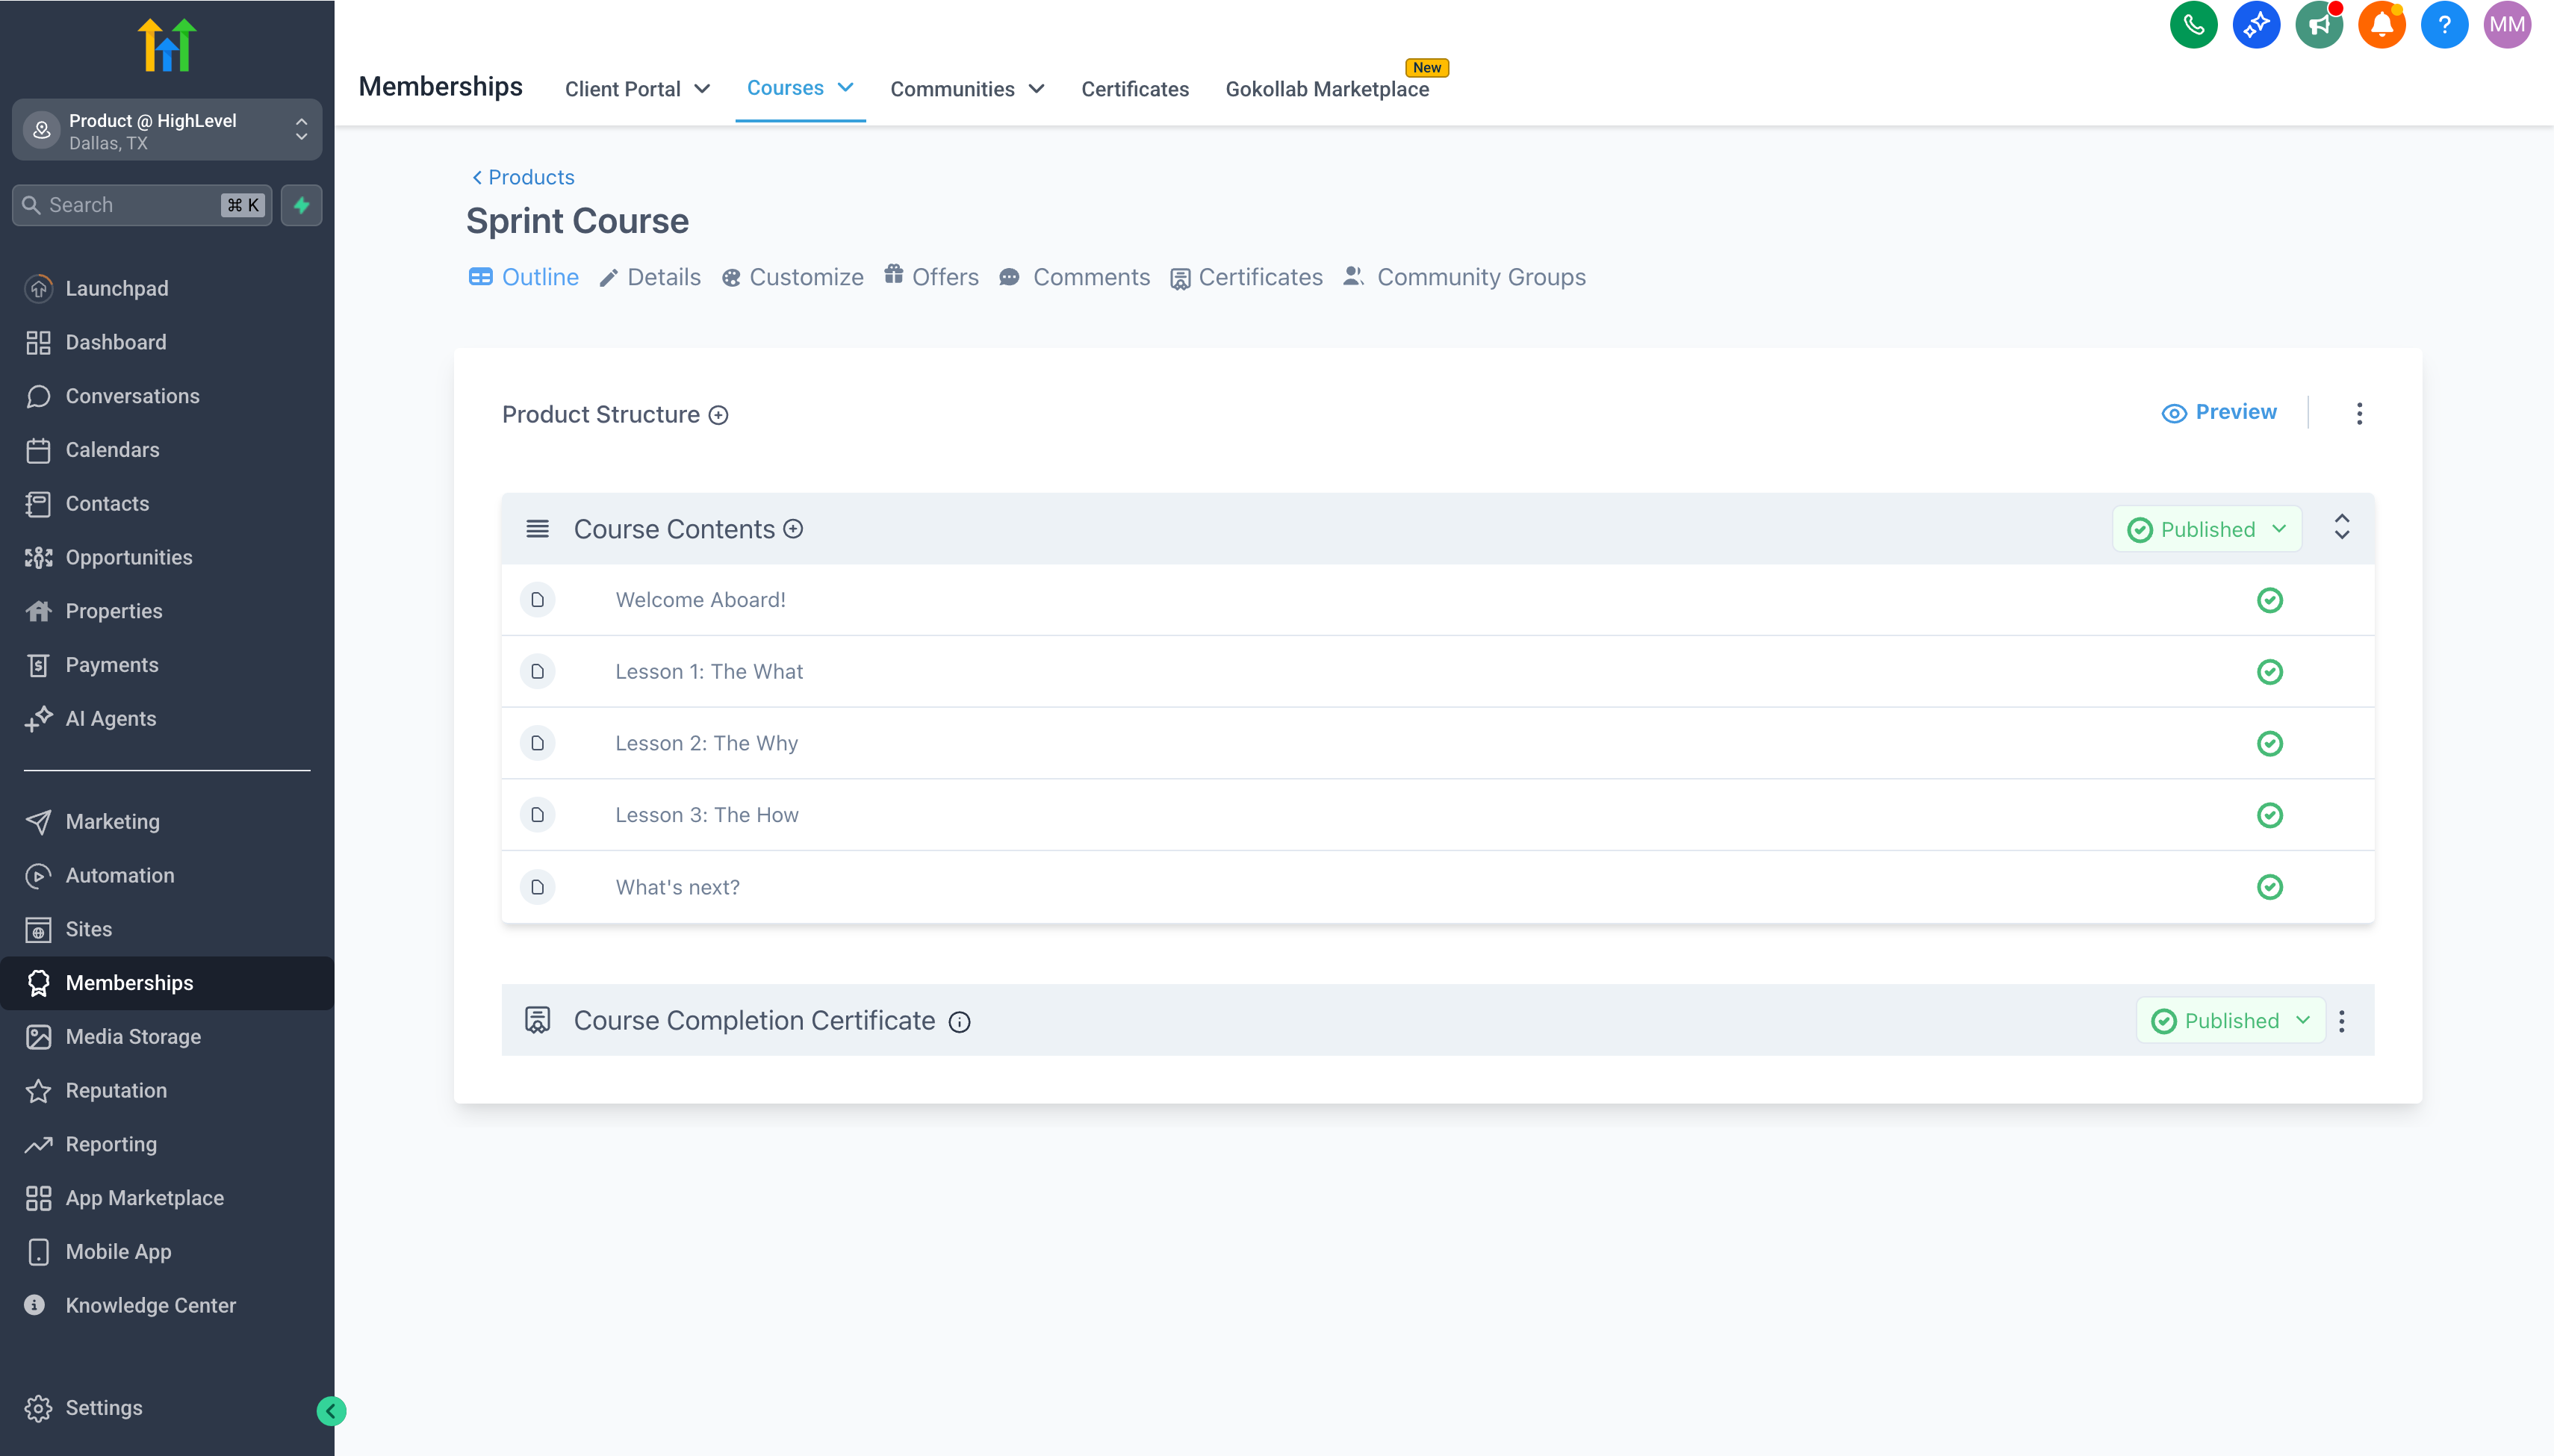
2. Modules (The Steps)
Modules sit within Categories and group related lessons into actionable steps.
Action:
Click on a Category → + Add Module.
Create specific steps within that pillar (e.g., "Module 1.1: Connecting Your Domain" or "Module 1.2: Mailgun Verification").
3. Lessons (The Content)
Lessons are the granular units where the actual content resides (video, audio, text, or quizzes).
Action:
Click on a Module → + Add Lesson.
Select the Lesson Type: Video, Audio, Text, or Assessment (for quizzes).
Drag and drop your video files or paste your text directly into the editor.
Ensure your lesson is set to Published if you want clients to see it immediately upon access.
III. Product Settings and Drip Scheduling
1. Drip Scheduling (Optional)
To release content over time (drip-feeding), use the Drip settings.
Action:
In the Product settings, navigate to the Drip tab.
Set a delay (e.g., 7 days) for a specific Category or Module. This ensures content becomes available after the client's enrollment date plus the specified delay.
2. Course Visibility
Prior to publishing the product, ensure it appears professional in the client's library.
Action:
In the Product's main settings, upload a compelling Product Thumbnail and write a concise Course Description. These elements are visible in the z Member Portal library.


